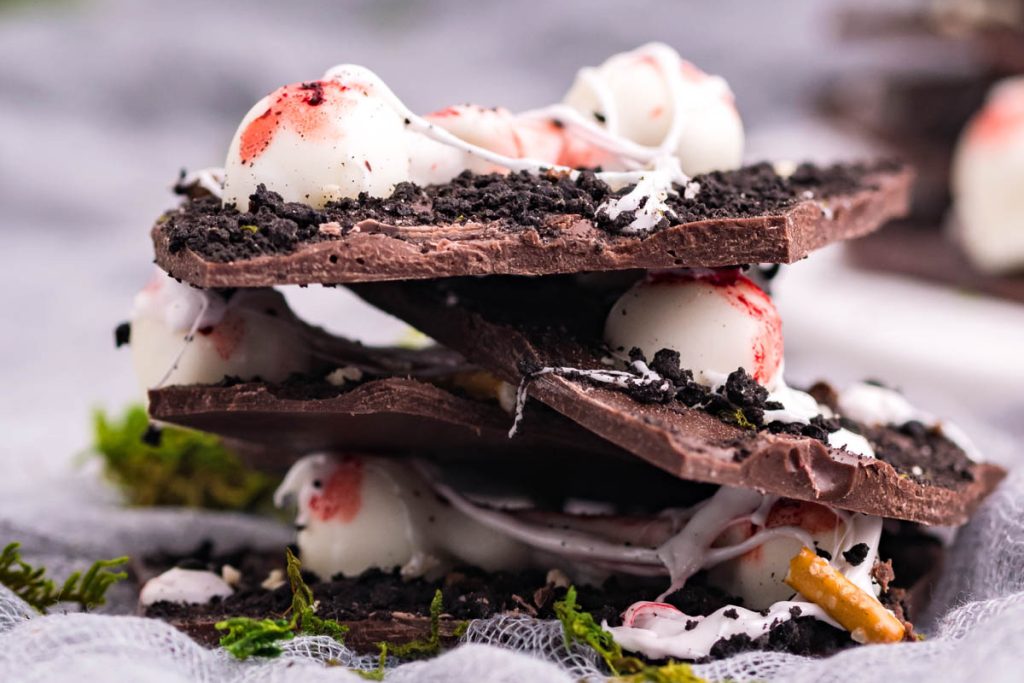
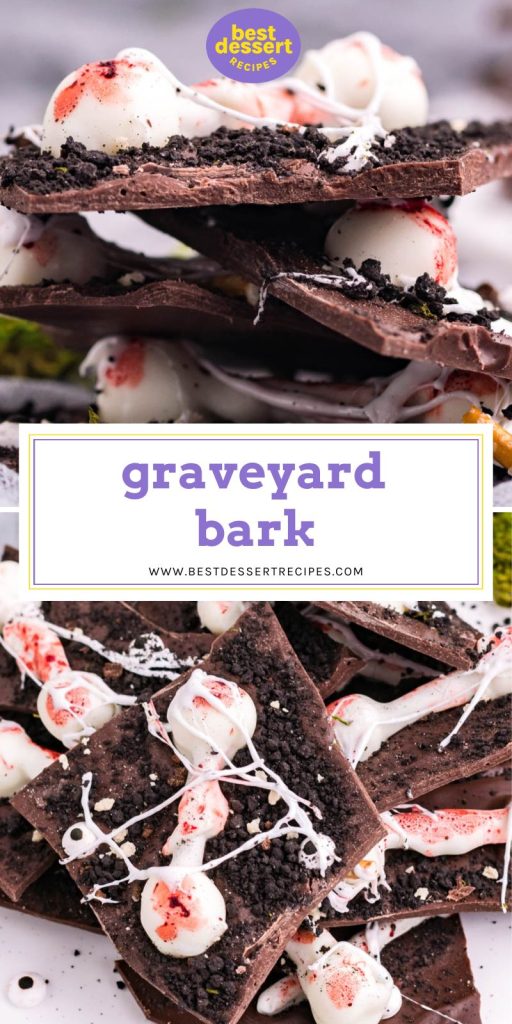
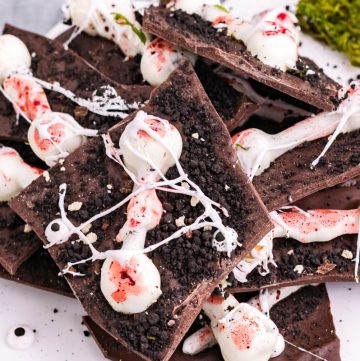
Looking for an easy treat to make on Halloween night? This easy Graveyard Bark is a great recipe to help get the kids involved in the kitchen!

Fall is in full swing and this time of year I all about the Halloween treats! I have quite a few Halloween desserts on the site already; but now that the kids are getting older and like to help more in the kitchen, I find myself making more fun treats.
Why Make a Bark?
I thought about graveyard dirt cups, but those can be quite messy and time consuming to put together. For the sake of time and cleanliness, this Graveyard Bark worked better for everyone.
Halloween candy bark recipes are great for serving at a Halloween party, serving as an easy Halloween dessert for the kids, or just to satisfy your sweet tooth when you want something different.
And the best part about this Halloween chocolate bark? You can customize it with whatever toppings you’d like. You can even make it look more like a graveyard by turning those milano cookies into headstones. Or use up your leftover Halloween candy as toppings instead.
What You’ll Need
- Pretzel sticks – Make sure to get the thin, short sticks and not the thick rods. You’ll want to pick out the whole ones to be able to make the “bones” properly.
- Mini marshmallows – You want the mini marshmallows because they are the perfect size to make the ends of the candy bones. You will also use melted marshmallows to make the spider webs.
- White chocolate candy melts – In order to make the bones look like, well, bones, they need to be white! White melting chocolate is the easiest way to do this.
- Red food coloring – This is optional, but the splatters of red food coloring makes this graveyard candy bark look a little extra creepy and fun.
- Hershey milk chocolate bars – Hershey is my favorite brand to use, however you can use any type of chocolate that you’d like. Dark chocolate would work well too.
- Solid vegetable shortening – Shortening is a great way to make sure the chocolate melts smoothly.
- Candy eyes – The candy eyeballs are a great way to take this Halloween treat to the next level.
- Oreo cookies – We need something that looks a little like dirt, and crushed Oreos are the best way to do that.
How to Make Graveyard Bark
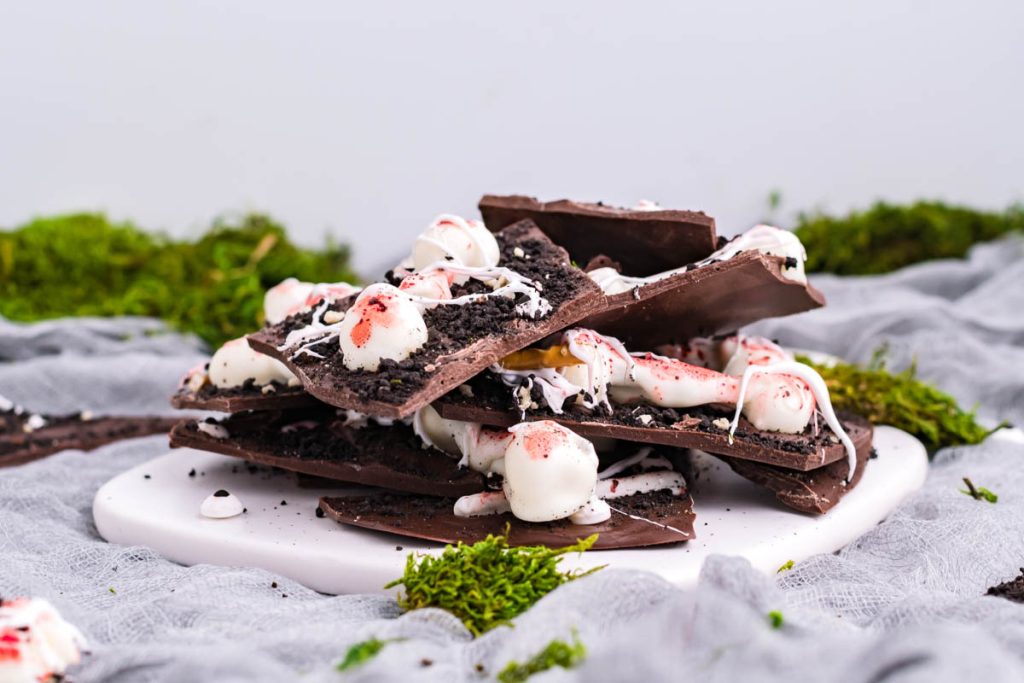
- Make bones. Start by preparing the “bones”. Place a mini marshmallow on both ends of a pretzel stick. Dip the pretzel sticks into the melted white candy melts and place onto a parchment lined plate. Allow the chocolate to set up and harden. Dab red food coloring onto each “bone” and set aside.
- Prepare pan. Prepare a large baking sheet by lining it with parchment paper.
- Melt chocolate. In a small sauce pan, add 1 inch of water and place a heat safe bowl over the pot being sure the bottom of the bowl does not touch the water. Place in the chocolate and shortening. Mix until fully melted and smooth.
- Add to pan. Pour onto the prepared pan and quickly spread evenly across the pan (this does not have to be perfect)
- Toppings. Immediately place the “bones” that were prepared onto the chocolate. Following with the candy eyes, crushed pretzels and crushed Oreos.
- Melt marshmallows. Set aside, place the remaining marshmallows into a heat safe bowl and microwave until the marshmallows start to expand. Mix the marshmallows.
- Make webs. Using your fingers, take a little of the marshmallow, press your fingers together and then slowly spread to get the spider web appearance. Place over the bark and connect to the decoration pieces.
- Let chill. Chill for 1-2 hours or until the chocolate has fully set. Break apart and enjoy.
Variations
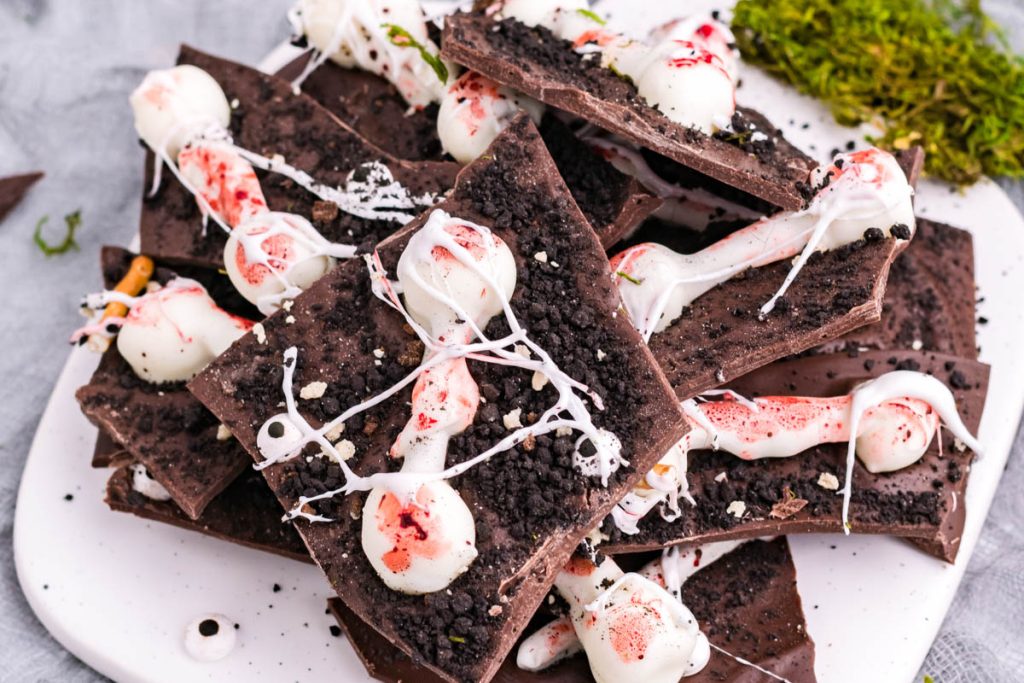
- Toppings – You can certainly change up the toppings in any way you’d like! Try adding some gummy worms, candy corn, Halloween M&Ms, tombstone cookies, candy pumpkins, Halloween sprinkles or any other candy toppings.
- Chocolate – I used milk chocolate for my graveyard chocolate bark. But any type of melted chocolate will do. White chocolate chips, dark melted chocolate and bittersweet chocolate are all great options. You can even get melting chocolate in Halloween colors to drizzle over top.
Storage and Freezing
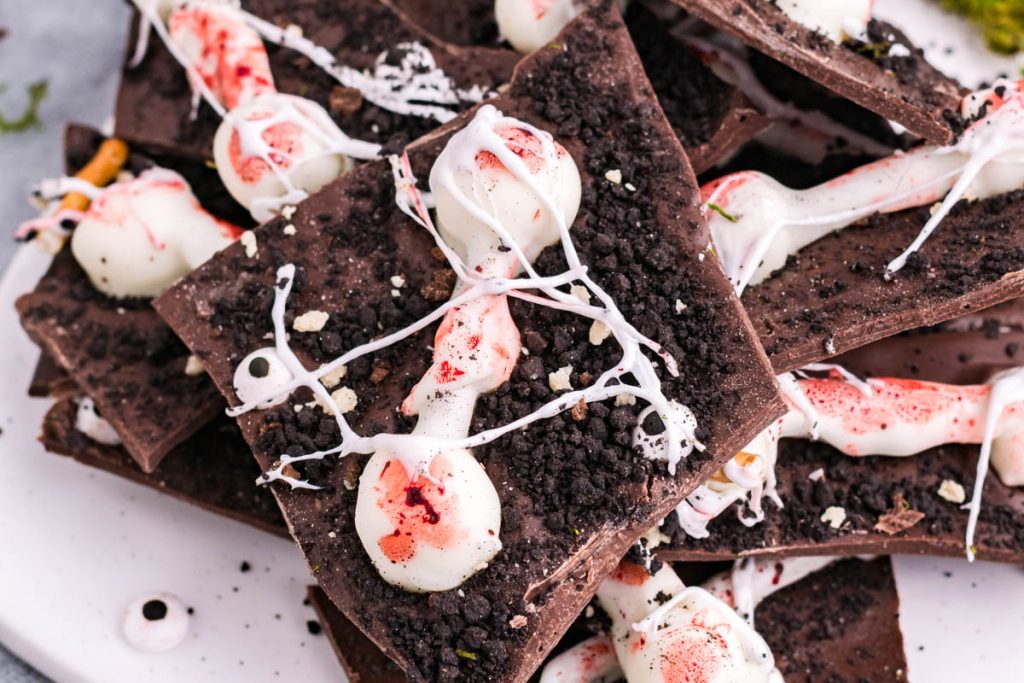
You can store this spooky candy bark in an airtight container for up to five days. After that, the pretzels will start to get a bit stale.
You can also store this graveyard bark in the freezer the same way.
Graveyard Bark
Ingredients
Bones:
- 20 pretzel sticks whole
- ½ cup mini marshmallows
- 1 cup white chocolate candy melts , melted
- red food coloring , optional
Bark:
- 22 ounces milk chocolate bars
- 1 tablespoon solid vegetable shortening
- ¼ cup pretzel sticks , roughly chopped
- candy eyes
- ½ cup Oreo cookies crushed
Instructions
Bones:
- Prepare the “bones” by placing a mini marshmallow on both ends of a pretzel stick. Continue until you have 15-20 prepared.
- Dip the pretzel sticks into the melted white candy melts and place onto a parchment lined plate. Allow the chocolate to set up and harden.
- Dab red food coloring onto each “bone” and set aside.
Bark:
- Prepare a large baking sheet by lining it with parchment paper.
- In a small saucepan, add 1 inch of water and place a heat safe bowl over the pot being sure the bottom of the bowl does not touch the water or use a double boiler.
- Add the chocolate and shortening. Mix until fully melted and smooth.
- Pour the chocolate mixture onto the prepared pan and quickly spread evenly across the pan (this does not have to be perfect)
- Immediately place the “bones” that were prepared onto the chocolate while still tacky. Following with the candy eyes, crushed pretzels and crushed Oreos.
- Set aside, place the remaining marshmallows into a heat safe bowl and microwave until the marshmallows start to expand. (about 15 seconds). Mix well .
- Wear gloves so it isn't has hot, then using your fingers, take a little of the marshmallow, press your fingers together and then slowly spread to get the spider web appearance. Place over the bark and connect to the decoration pieces until you are satisfied with the spider webs.
- Chill for 1-2 hours or until the chocolate has fully set.
- Break apart and enjoy.
- If you've tried this recipe, come back and let us know how it was in the comments or star ratings.
Notes
The candy and decorations are optional and changeable! Get creative and use whatever you would like!
Store in an airtight container at room temperature for up to 5 days.

Gina Abernathy
These are perfect for our Halloween party at the end of the month. I can’t wait to make these.
Beth
This is too stinking cute! I love all the sweet flavor, and I love the look. This is perfect for our upcoming Halloween party.
Beth
So yummy and so fun. My kids had a blast helping me make these!
Nikki
Super fun, festive and delicious! Looking forward to making this for the family.
Dana
Love treats like this! So cute and festive, but it was seriously so so easy to make which is my JAM.