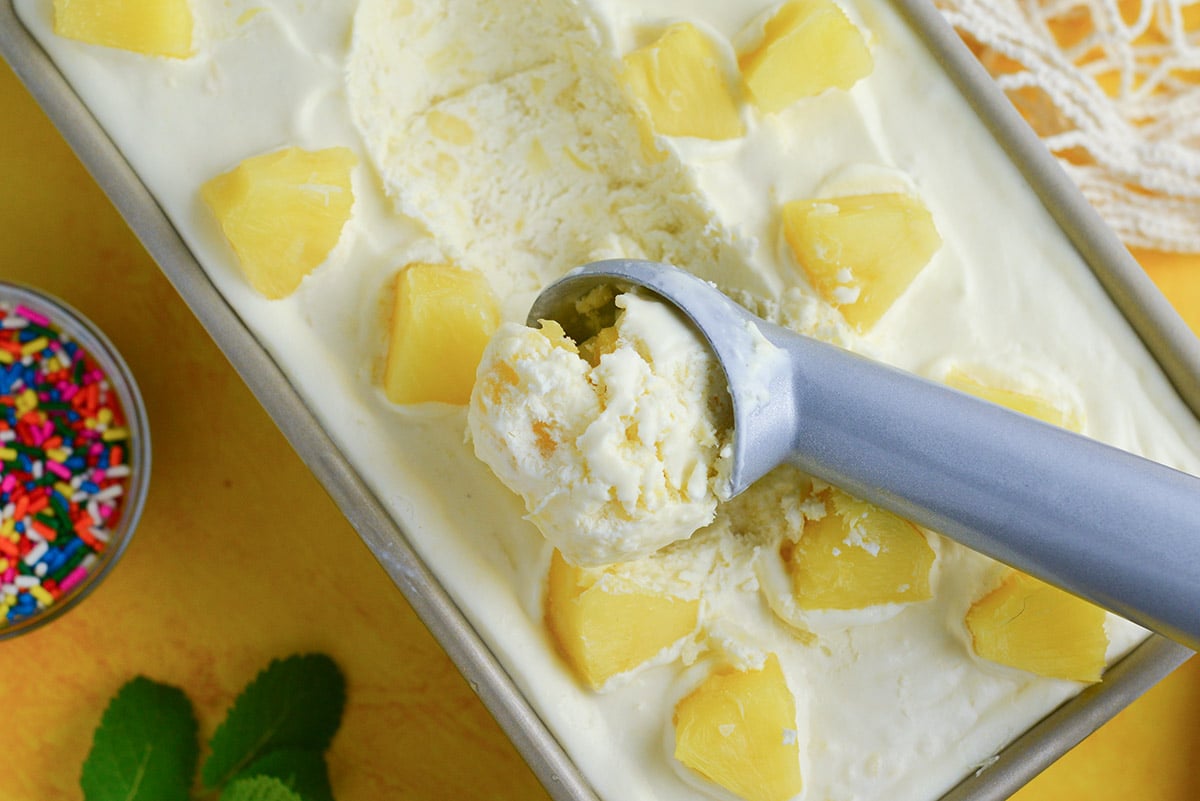
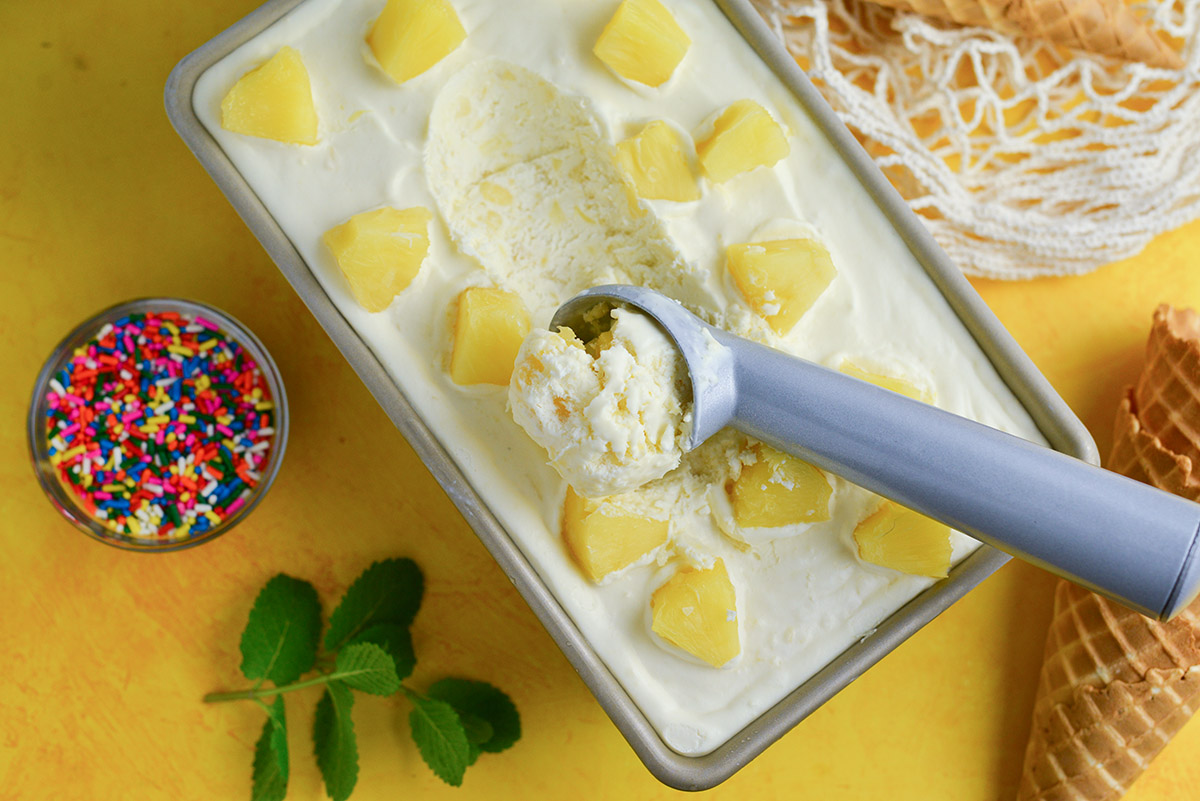
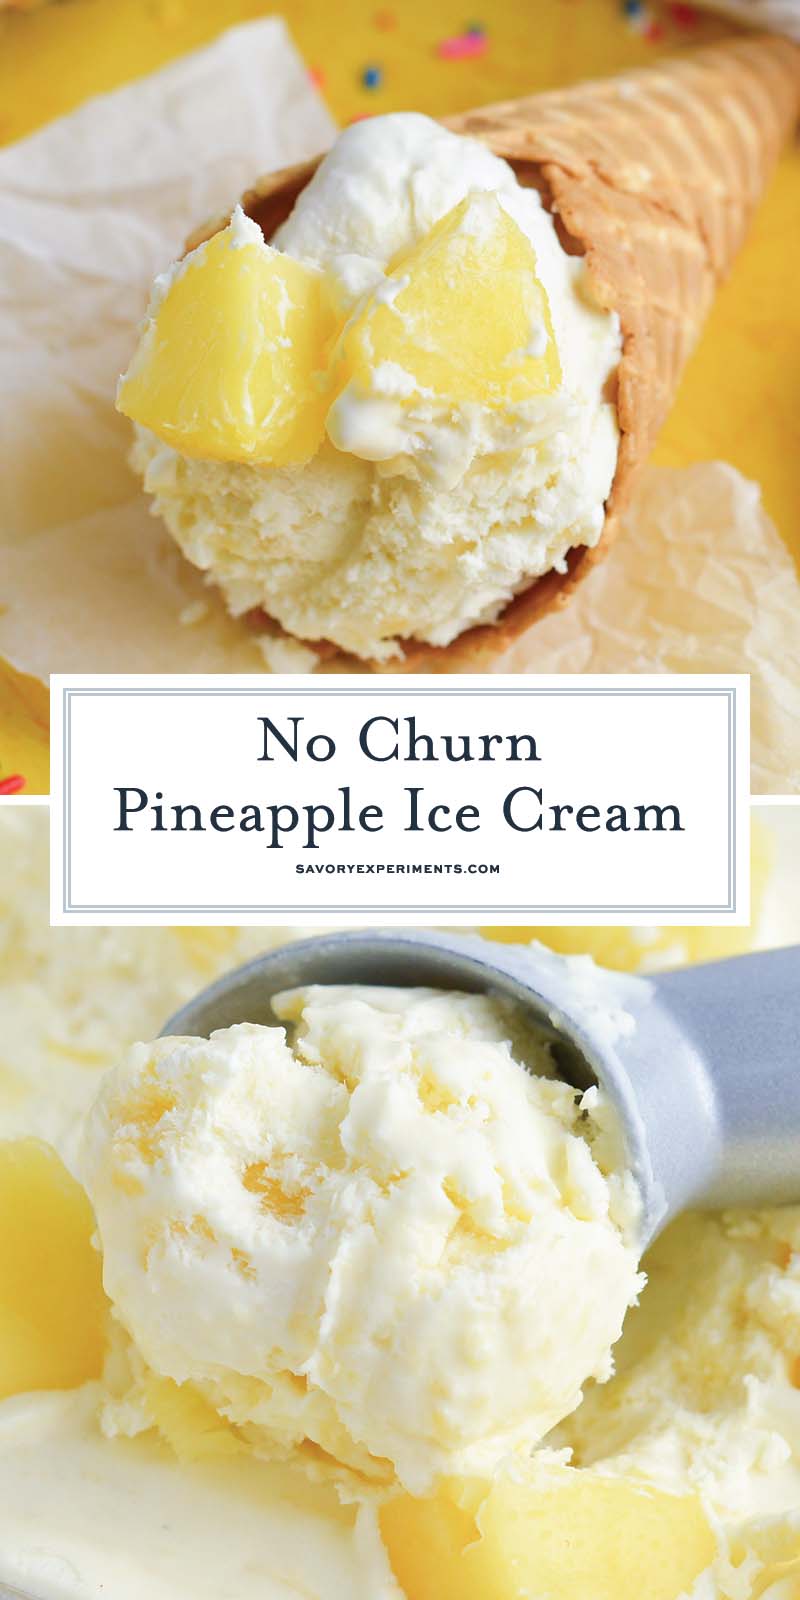
Sometimes you just need a little pick me up after a long day, and for me it’s usually ice cream. With pineapple chunks and a creamy base, this no churn Pineapple Ice Cream is the treat you need in your life.
There is something about fresh pineapple that you just can’t beat. Whether you use pineapple juice to make a killer cocktail like a piña colada, pineapple slices to make pineapple upside down cake, or just eat the chunks as is, pineapple definitely gives you a taste of the tropics.
Pineapple Ice Cream
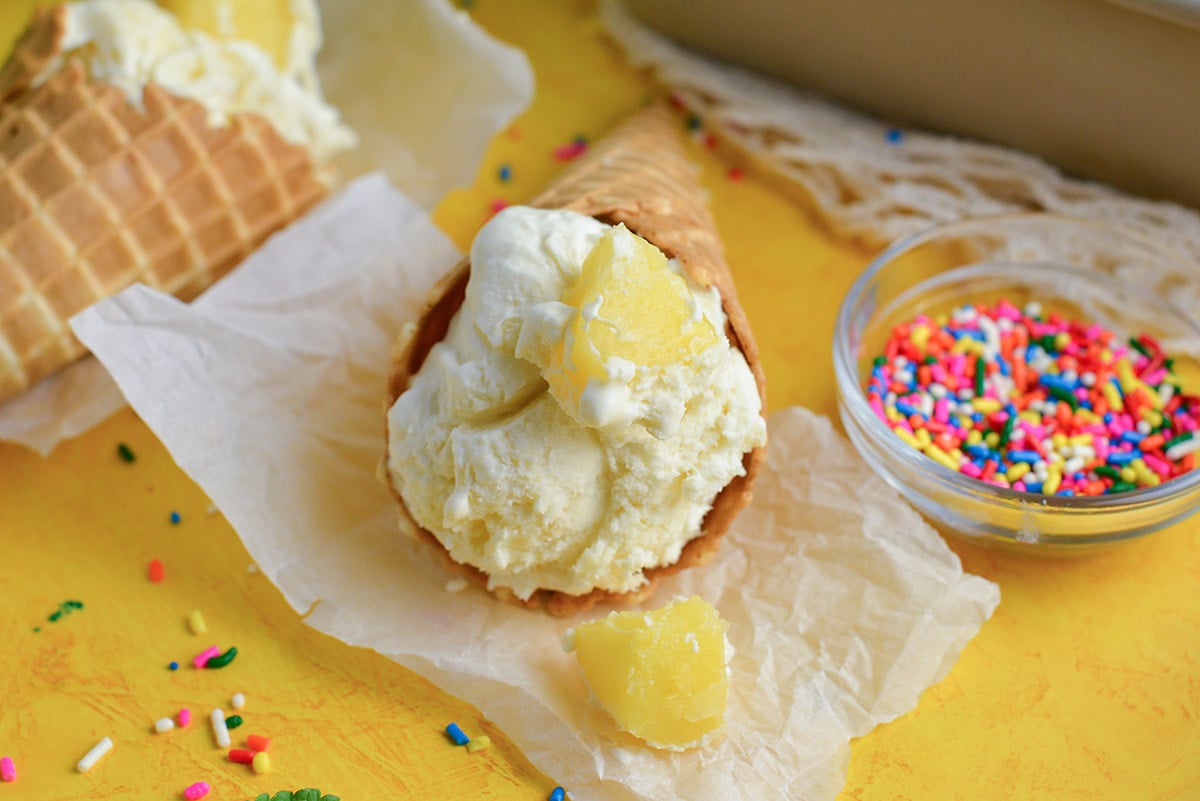
Don’t think of this as something like Disney’s Dole Whip that you get at the Disney park. That is more of a smooth custard like texture. This homemade pineapple ice cream recipe has chunks of real pineapple with a creamy ice cream base.
The best part is that it only takes minutes of prep time, but yields the most delicious creamy texture with the perfect amount of sweetness. And I don’t need to cut open a while pineapple to do it.
No-Churn vs Churned Ice Cream
There are a few differences between traditionally churned ice cream and no-churn ice cream. Both in the ingredients and the process used to make it.
Traditional ice cream requires a few more ingredients and more equipment to make. Churned ice cream often begins by making a custard with eggs and cream, heating it on the stove and then adding it to an ice cream maker where it is slowly churned while it is frozen.
The process of churning while freezing creates the smooth ice cream and prevents crunchy crystals from forming.
No-churn ice cream, on the other hand, requires no heating or special equipment to make. You simply mix the ingredients in a bowl, pour it in a container and toss it in the freezer to set.
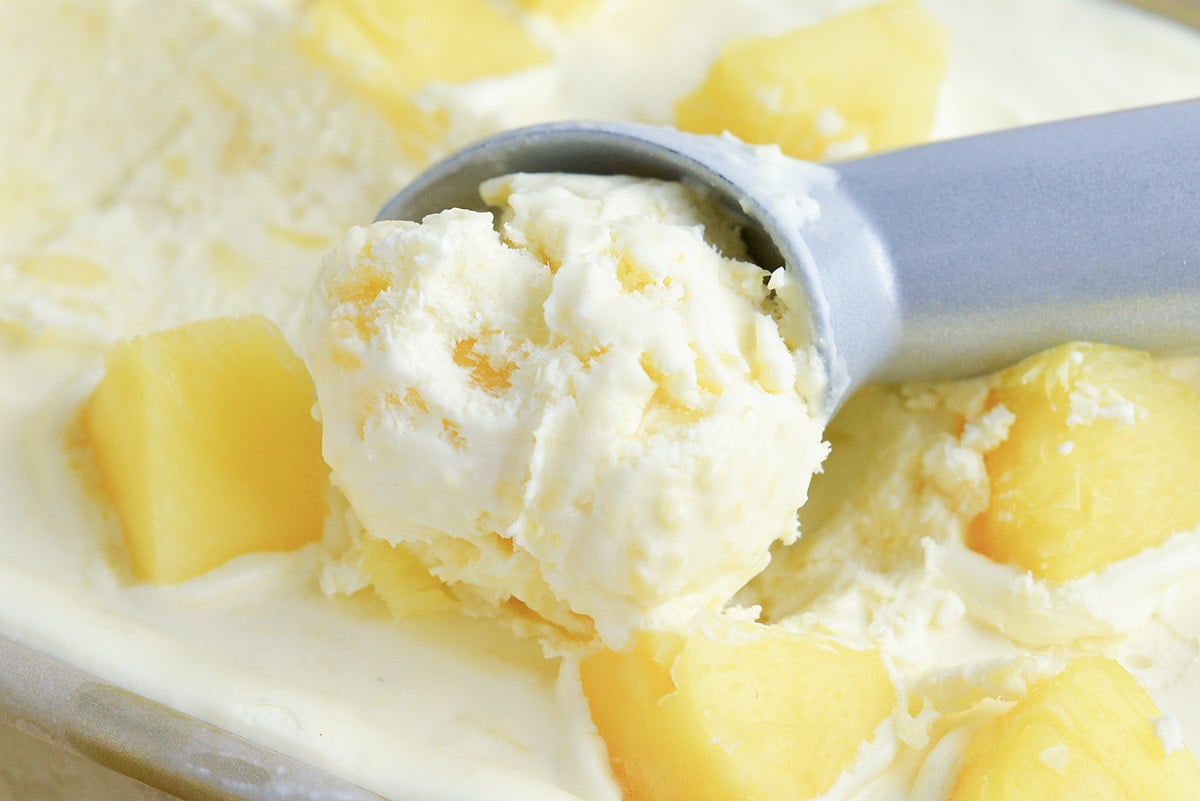
There is a definite texture difference between the two with traditional ice cream being a bit firmer and smoother. No-churn ice cream like this Pineapple Ice Cream tends to be fluffier and it will melt quite a bit quicker at room temperature than churned ice cream will.
Ingredients
You only need five ingredients in order to make this homemade ice cream.
- Heavy Whipping cream (heavy cream) – The heavy cream, once whipped, is what will give the ice cream the light and fluffy texture.
- Sweetened condensed milk – Don’t get this confused with evaporated milk. The sweetened condensed milk helps thicken the mixture and adds the sweetness that ice cream needs.
- Vanilla extract – make sure it is a pure extract, not imitation. The best way to do this is homemade, of course.
- Fine Sea Salt (optional)- It is amazing how much of a difference just a pinch of salt can make in any recipe, sweet or savory. It brightens the natural flavors and elevates this recipe to a new level.
- Pineapple- Canned pineapple works just fine for this recipe. I used a combination of crushed pineapple and pineapple chunks. Crushed pineapple infuses the whole batter with sweet, tropical goodness while leaving behind little flecks of pineapple pieces. Then the top is dotted with pineapple chunks, which is optional, but really drives the point home that this is a tropical, pineapple ice cream.
Can I Use Whipped Cream?
It seems like a simple swap to use pre-whipped whipped cream or whipped topping, however it isn’t that simple.
Whipped cream is already sweetened, so adding this along with the sweetened condensed milk will likely be too sweet.
Whipped topping is also sweetened but made with vegetable oil, which is why it is so stable and doesn’t fall. it tastes great, but this would mean you wouldn’t have a dairy-based ice cream, you’d have oil-based ice cream. Gross.
How to Store No-Churn Ice Cream
Store any un-eaten ice cream in the container you froze it in. Place a piece of parchment paper directly on top of the ice cream, and then wrap the container tightly with plastic wrap, and then again in foil.
All these layers will help prevent ice crystals from forming. Ice Cream is edible for up to 3 months.
More Frozen Desserts
Even though I have sensitive teeth, I still indulge in frozen treats, here are a few more of our fav recipes.
Cheesecake Milkshake Recipe
Maple Ice Cream Recipe
Oreo Milkshake Recipe
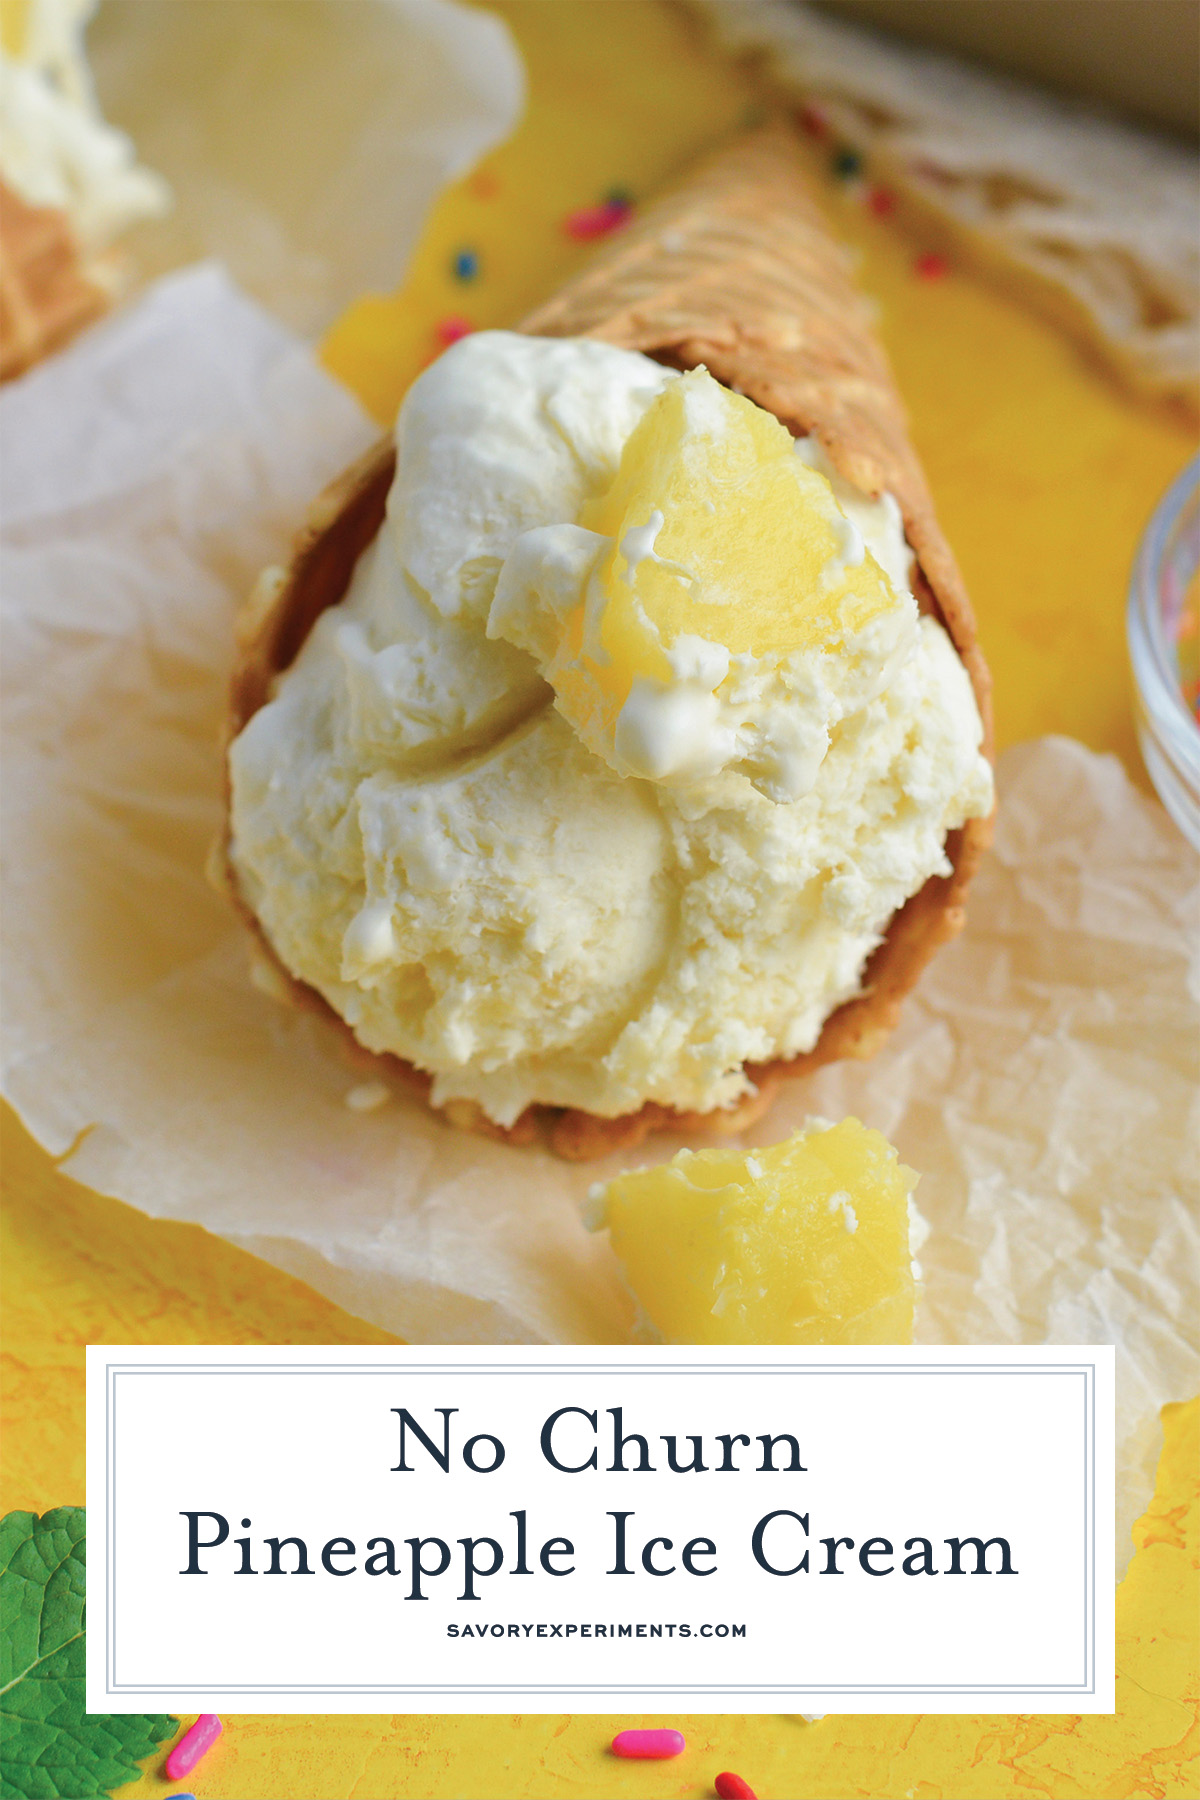
No-Churn Pineapple Ice Cream
Ingredients
- 14 ounces sweetened condensed milk*
- 2 teaspoons vanilla extract
- 1/8 teaspoon fine sea salt
- 2 cups heavy cream cold
- 20 ounces crushed pineapples
- 1/2 cup pineapple chunks
Instructions
- n a large bowl, mix together the sweetened condensed milk, vanilla extract and salt. Set aside.
- In a stand mixer fitted with the whisk attachment or a large mixing bowl using an electric mixer with the whisk attachment, whip the cream until it is stiff, approximately 2-3 minutes.
- In batches, gently fold the whipped cream into the sweetened condensed milk mixture.
- Fold in the crushed pineapple.
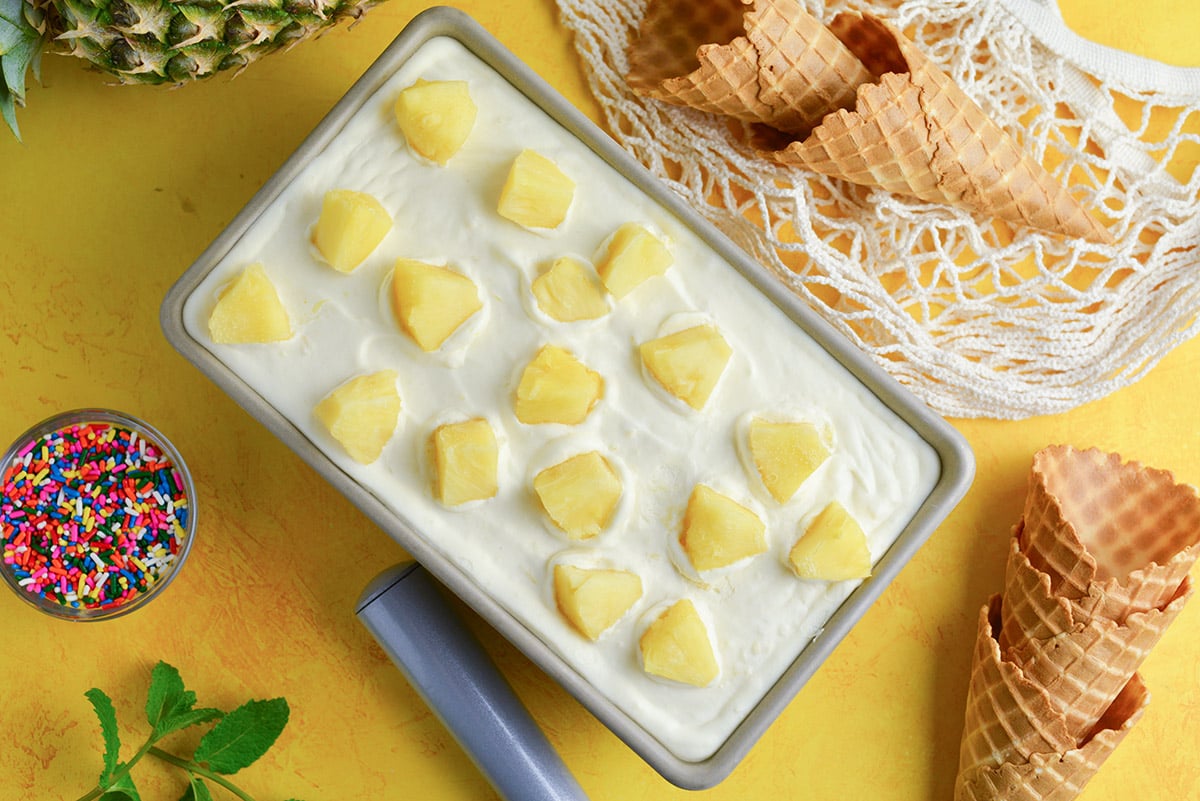
- Pour the mixture into a 9x5x3 bread pan. Place, uncovered, in the freezer for 2 hours.
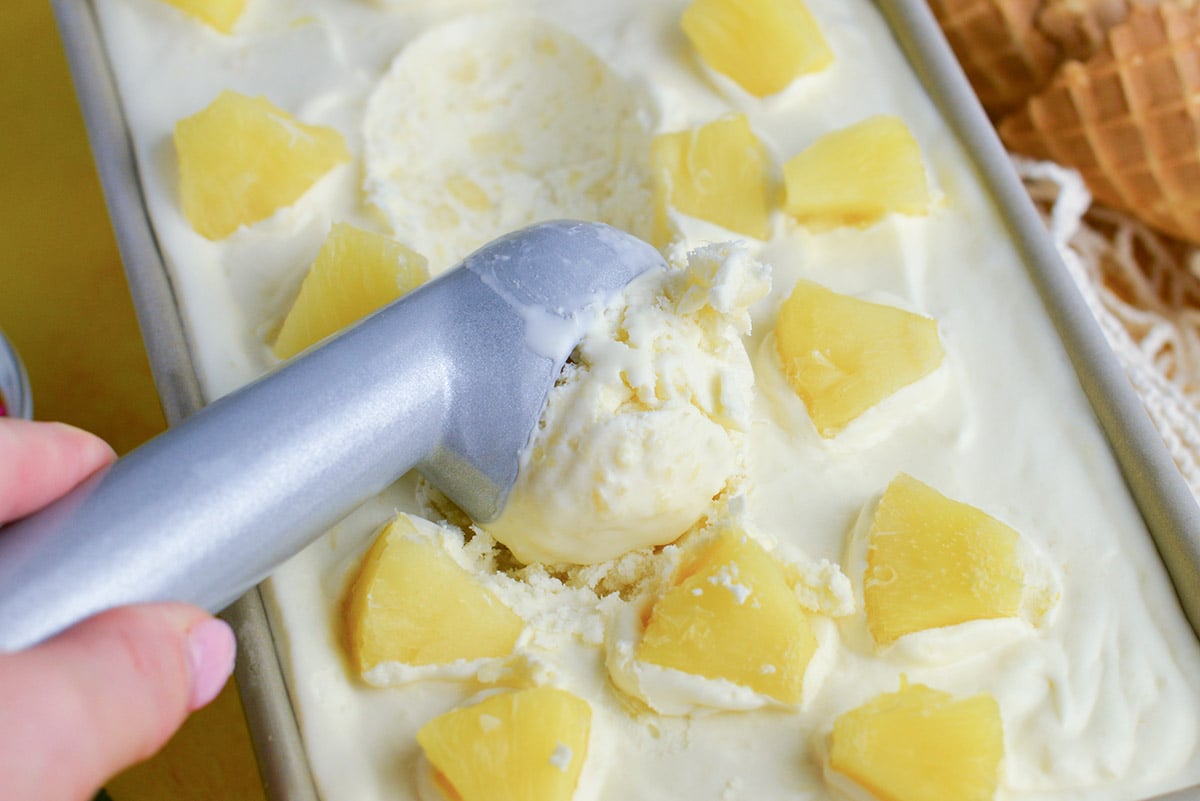
- At 2 hours, remove and press the pineapple chunks into the top of the ice cream.
- Cover with aluminum foil and return to the freezer for 8-12 hours.
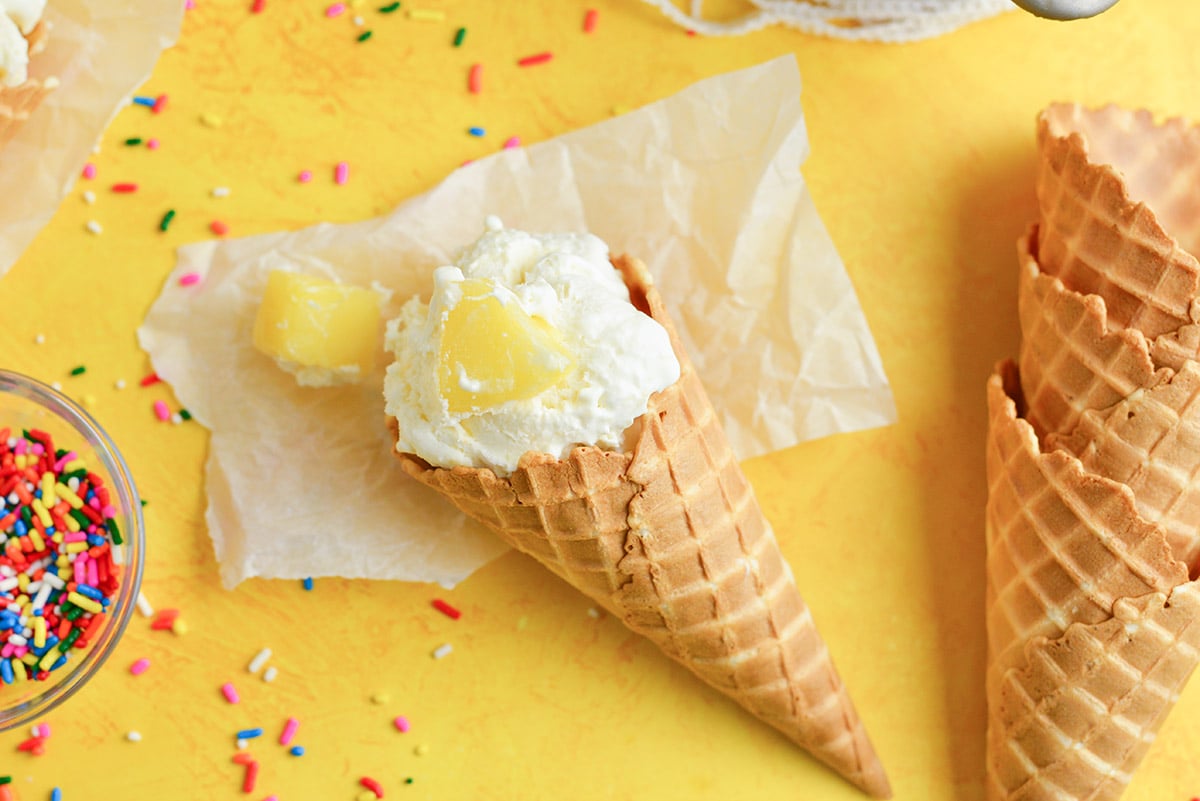
- Scoop and serve!
- If you’ve tried this recipe, come back and let us know how it was in the comments or star ratings.
Notes
Nutrition


This no-churn pineapple ice cream looks so delicious. Thanks for the recipe.
Love this Pineapple Ice Cream recipe, will make this soon with the kiddos, we love pineapple and never have made a pineapple ice cream, so will be perfect to try this recipe. This looks creamy and flavorful. Thanks for sharing 🙂
This pineapple ice cream was positively delicious! So creamy too!
This was so tasty and so easy to make!
I’ve been mixing pineapple chunks into my vanilla ice cream for years. I can’t wait to make my own real pineapple ice cream!