
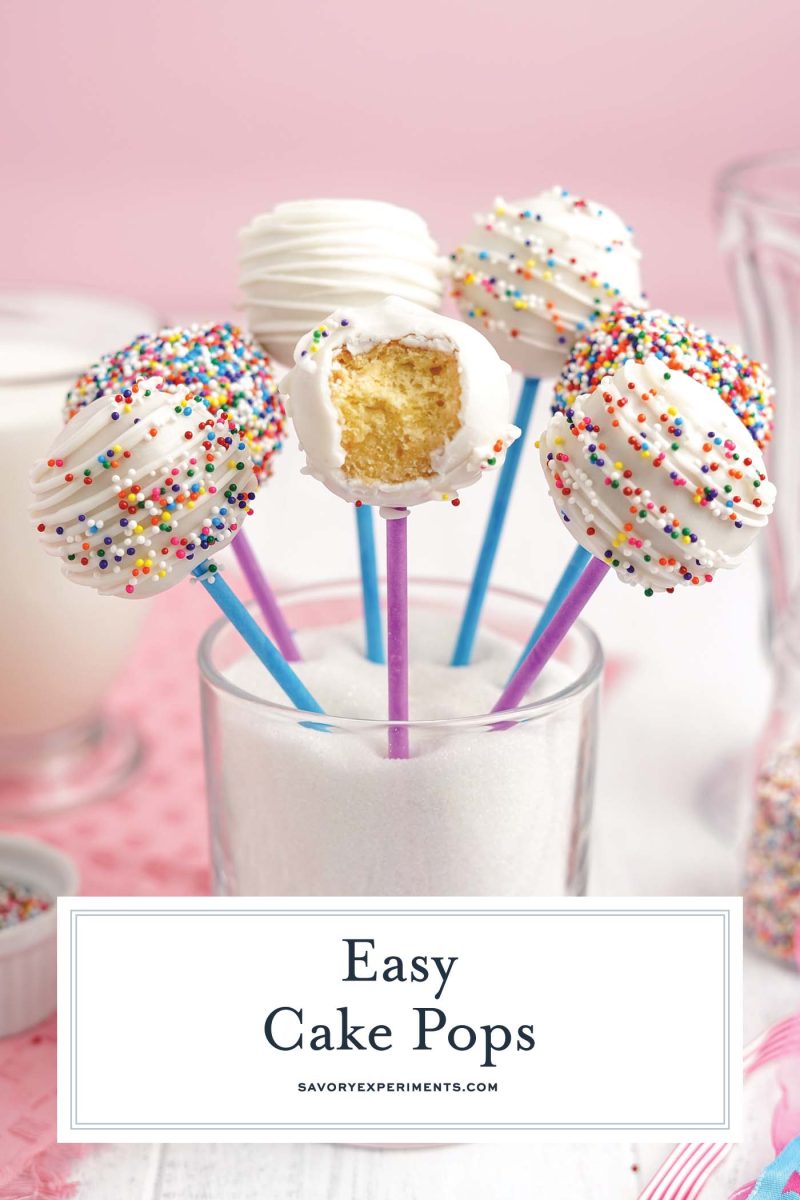
Have you ever made homemade cake pops? Like from scratch? Bakers make it look so easy, BUT IT ISN’T.
First you have to bake a cake, then manually destroy it to blend with frosting. Some folks have cake pop molds which make it slightly easier, but still. Then put them on sticks and hope the texture of your cake blend is just right so they don’t fall off. Perfect cake pops are hard to make!
But they are so cute and perfect for so many events like baby showers, bridal showers, birthday parties and any other event you can dream up. They are also great for gift baskets and hostess gifts.

Our Secret
Donut holes. Yep, handy little pieces of cake that are already in the exact shape you need them. Donut holes come in two varieties, cake and yeast forms. The cake have the texture of cake while yeast are more of a light pastry.
Look for unglazed donut holes because the chocolate coating won’t stick if they are. I’ve had to call the bakery (or Dunkin’ Donuts) to ask for a special order of unglazed, but it is totally worth it.
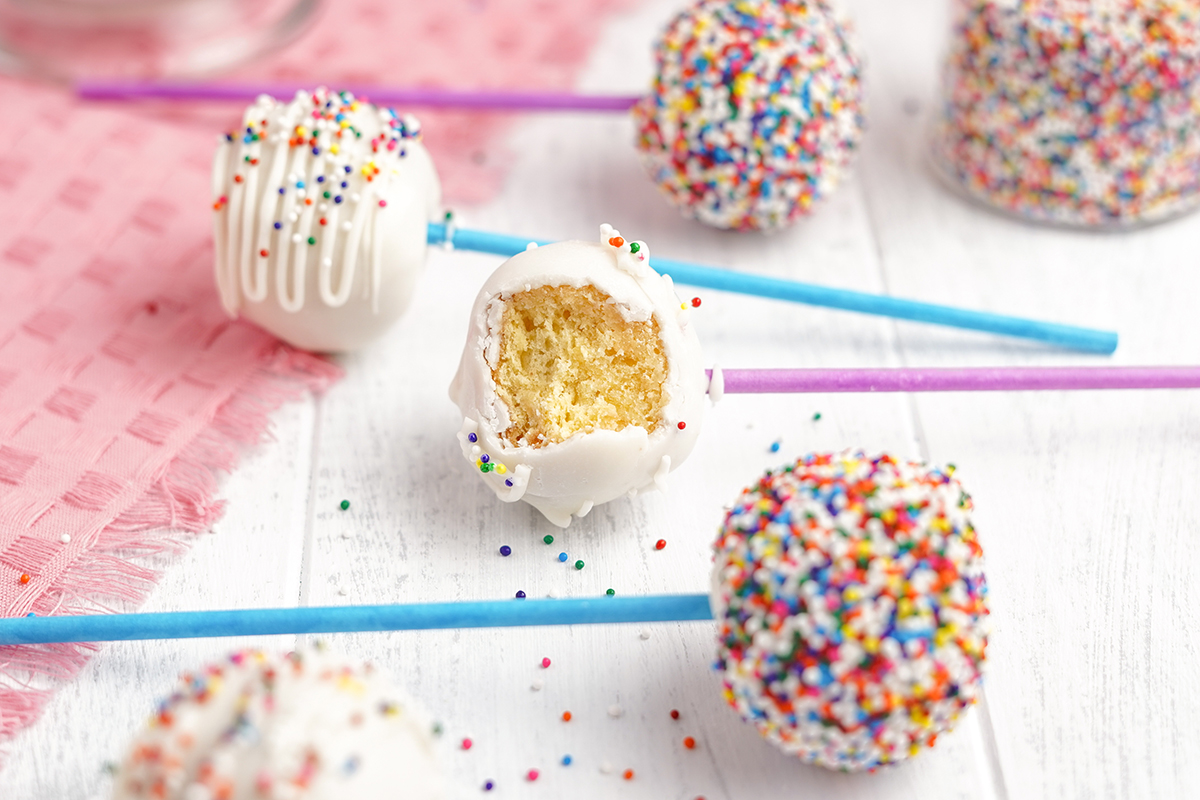
They naturally have some uneven shape, but the dip in chocolate will help to smooth and even, as will the decorations.
How to Make Easy Cake Pops
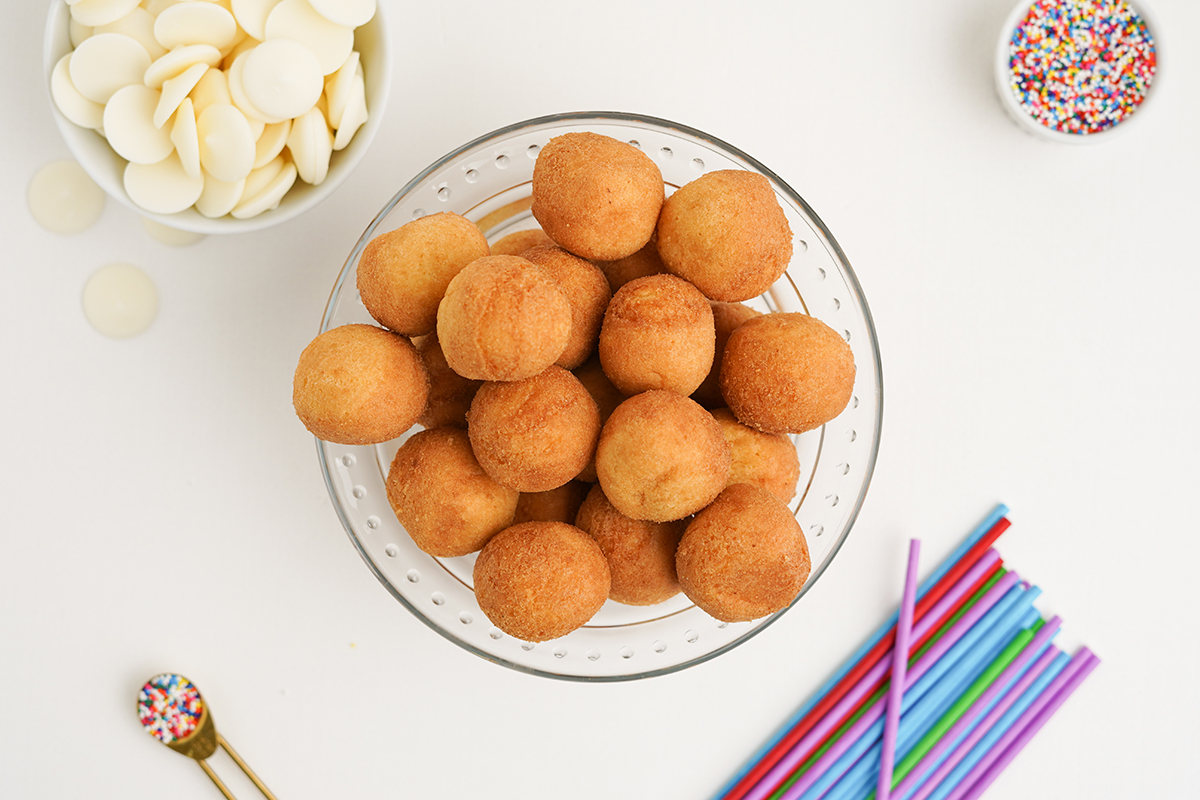
The ingredient list is short!
- Unglazed donut holes
- Melting chocolate wafers (candy melts)- we like using a base of white chocolate for more decorating ideas, but milk and dark chocolate work well too, as does colored chocolate options
- Treat sticks
Make Them!
The process is relatively easy, but make sure you read our tips so they turn out perfect!
- The first step is optional and might not be required of all your donuts. Donut holes tend to be irregular in size and shape, so using the heat from your hands and gently rolling them between your palms will help to smooth out any unsightly bumps or dents. If you plan to coat the whole pop in sprinkles, this step might not be necessary, as the accessories will cover up any flaws.
- Melt the chocolate wafers according to the package directions, we prefer a double boiler, but microwave works too. If not using melting wafers, use semi-sweet chocolate chips with 1 teaspoon of vegetable shortening or coconut oil, this helps it melt smooth and shiny.
- Stick a treat stick into the melted chocolate and then into the donut hole, the chocolate it like glue to help the stick stay secure. Make sure the chocolate fully cools before you dip the whole donut so it stays secure.
- Carefully dip the whole cake pop into the melted chocolate and either swirl or spoon it over so it is fully covered. Allow to drip upside down for about 1 minute, this gives it time to set up and create the best coating.
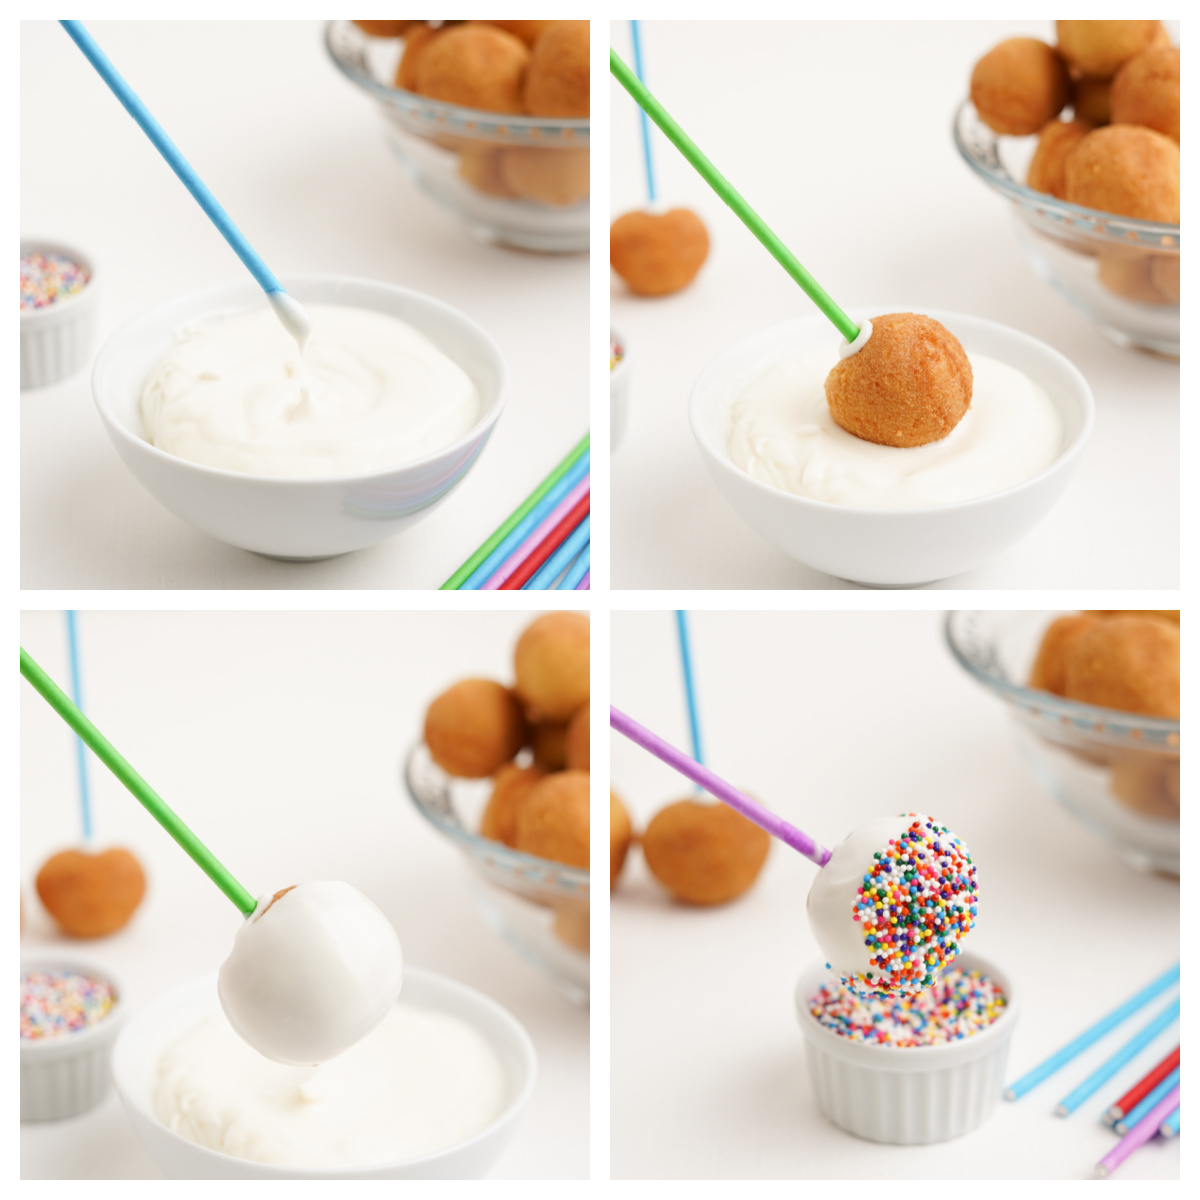
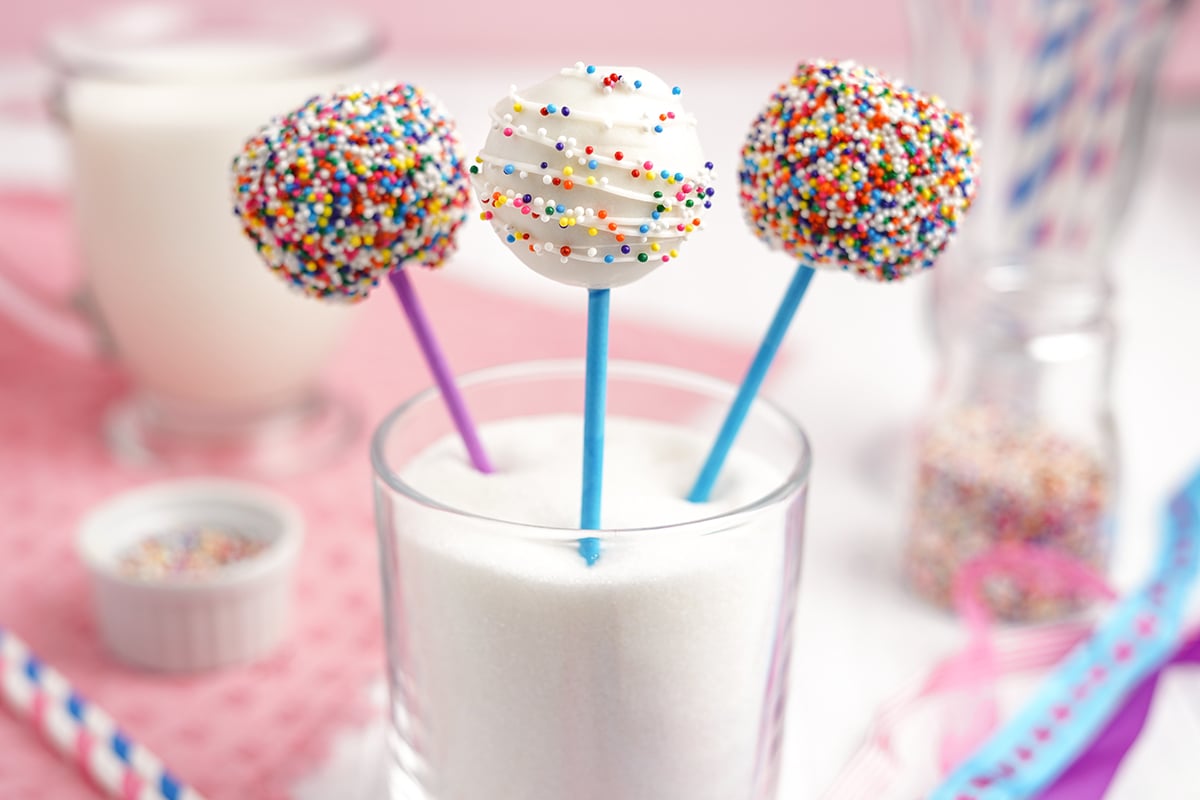
- Transfer it to your cake pop stand, homemade or purchased and allow to fully set… unless you plan to cover the whole thing in sprinkles. In that case, very gently roll it in a shallow bowl or dish. Do not press down to hard, just enough for the tacky chocolate to pick up the sprinkles and attach.
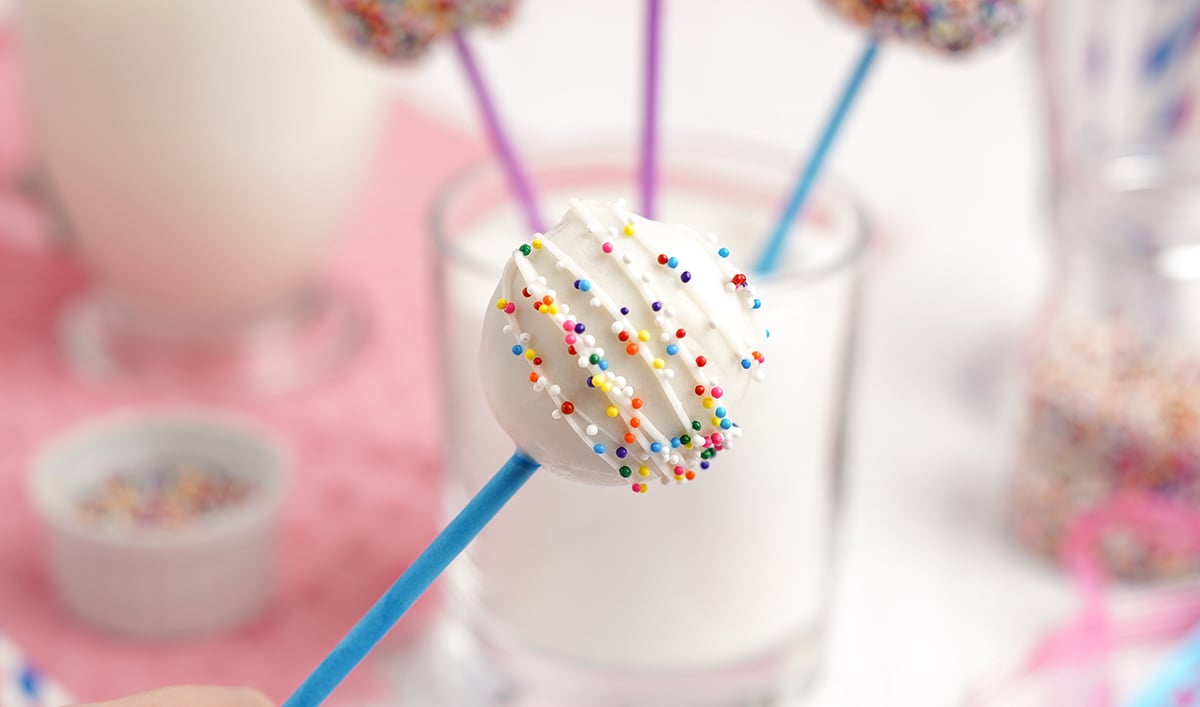
- If you intend to drizzle more chocolate, allow them to dry fully, then melt second chocolate color in a microwave-safe candy piping bag. Snip the end and drizzle as desired. Sprinkle can be applied to tacky drizzle as well.
Tools of the Trade
While this is a super easy recipe, you will require a few tools to make it easier.
- Double Boiler– Double boilers use heat and steam from water in the base pot to heat the contents of the top pot. This is a more gentle form of heating foods and sauces and also the gold standard for melting chocolate. You’ll run less of a risk of the chocolate seizing or heating to hot and turning into a globby mess using this technique.
- Cake Pop Sticks– Any lollipop sticks work, white or colored. Order these online or pick up a pack at your local craft store.
- Parchment Paper- The best way to prevent sticking is to use parchment, but laying them down flat to set will also create a flat surface on one side. Avoid this by allowing them to set upright with nothing touching the wet chocolate.
- Cake Pop Holder– Holders are great for displaying and serving, but also setting and decorating. They have two points to help stabilize the pops and ensure they don’t fall over. But you don’t want to purchase one (they are super cheap), you can also make your own.
What Can You Use To Stick Cake Pops in to Dry?
- Fill a dish that is about 2/3 the height of your lollipop sticks with sugar or sand. Stick the sticks securely into the mix, making sure the tacky balls don’t touch each other. You can also use pieces of candy or dried beans.
- Flip over an egg carton and puncture holes through each dome.
- Depending on the size of the holes of your colander, this can also be flipped over and work. The holes just need to be the correct size of the lollipop sticks.
- Use a piece of styrofoam block or floral foam- just make sure one side sits flat. Clearly a ball shape would go rolling away with your pops!

Cake Balls
The other option is to ditch the treat sticks together and just make cake balls. These are similar to Oreo Truffles or Buckeyes in that they are round, except for the flat part that will hit parchment to let them dry.
Follow the same instructions, just skip the part about adding a stick. Use a fork to dip the whole ball into the chocolate and then tap any excess off. Set it on parchment or wax paper to set. Same rules apply for decorating.
Tips for Melting Chocolate
- Melting chocolate, like many other things in the kitchen, is chemistry and science.
- You need the optimal temperature to make sure your chocolate melts to a silky-smooth consistency, don’t do it over high heat, keep it at medium.
- Skip the microwave and use a double boiler. The microwave heats too fast and too hot.
- If you do need to use the microwave, use it at 50% power or defrost mode and go slow, 15 second intervals.
- Don’t fully boil the water in your double boiler. Get it hot enough to melt the chocolate, but not to a rolling boil.
- Put the top pot on with chocolate after the water has come to temperature.
- Stir constantly while melting. It should only take a minute or so.
- Use immediately and while shiny.
- If chocolate gets too hot, it gets clumpy and matte.
- You can try to revive it by adding 2 teaspoons of vegetable shortening, but sometimes you are better off just starting over.
Storage
You can purchase a cake pop stand or use a piece of styrofoam from the local craft store. Cakes pops can also be laid in an airtight container separated by sheets of parchment paper or wax paper. They stay good for about 3-5 days.
Cake pops can be frozen, but be mindful that chocolate, while still safe to eat, can thaw looking chalky and could crack. Thaw at room temperature.
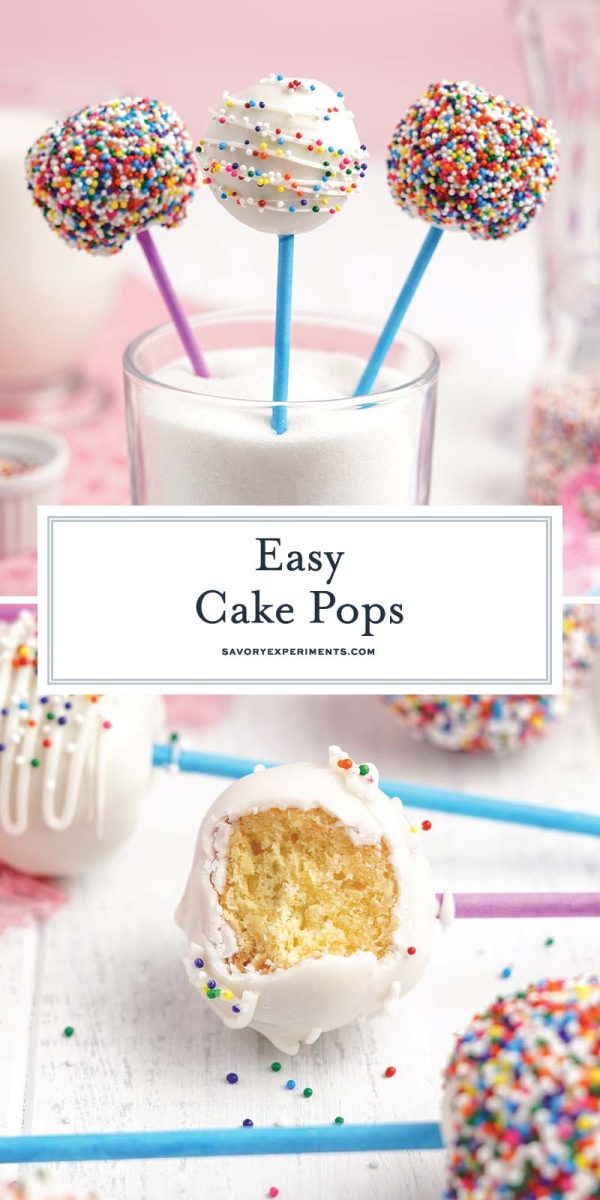
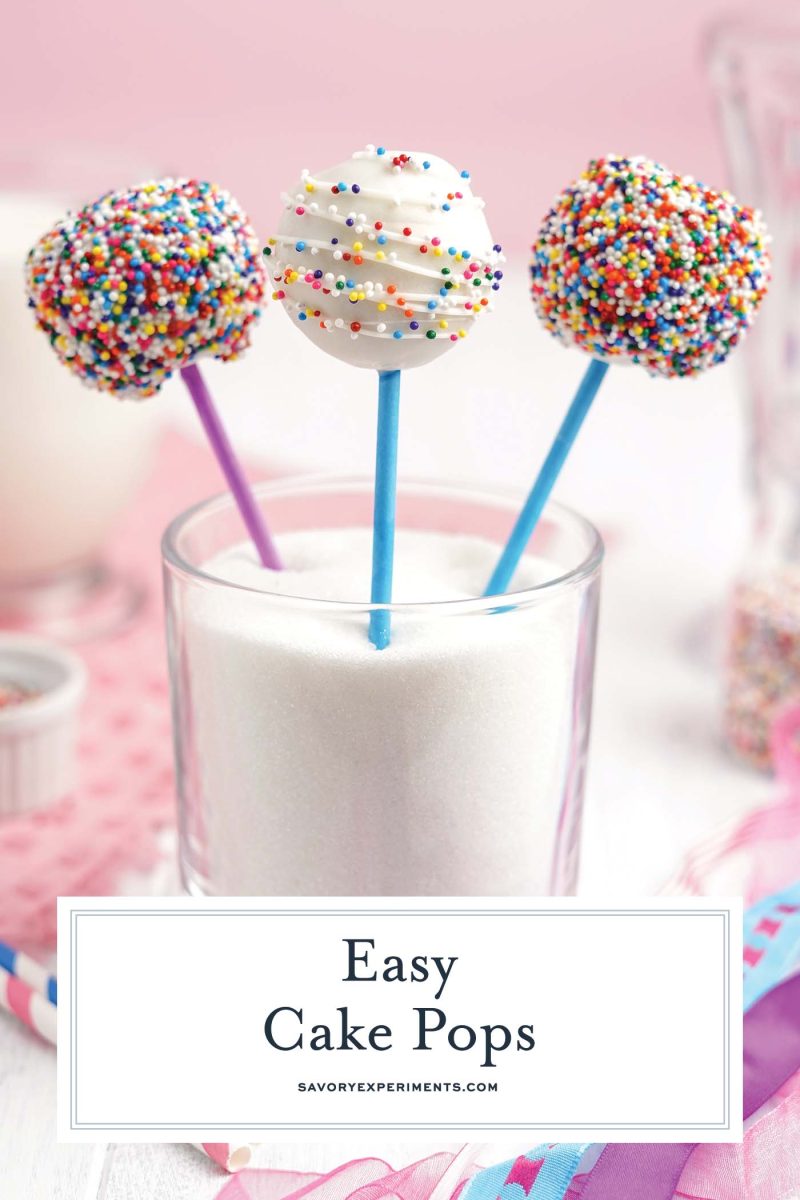
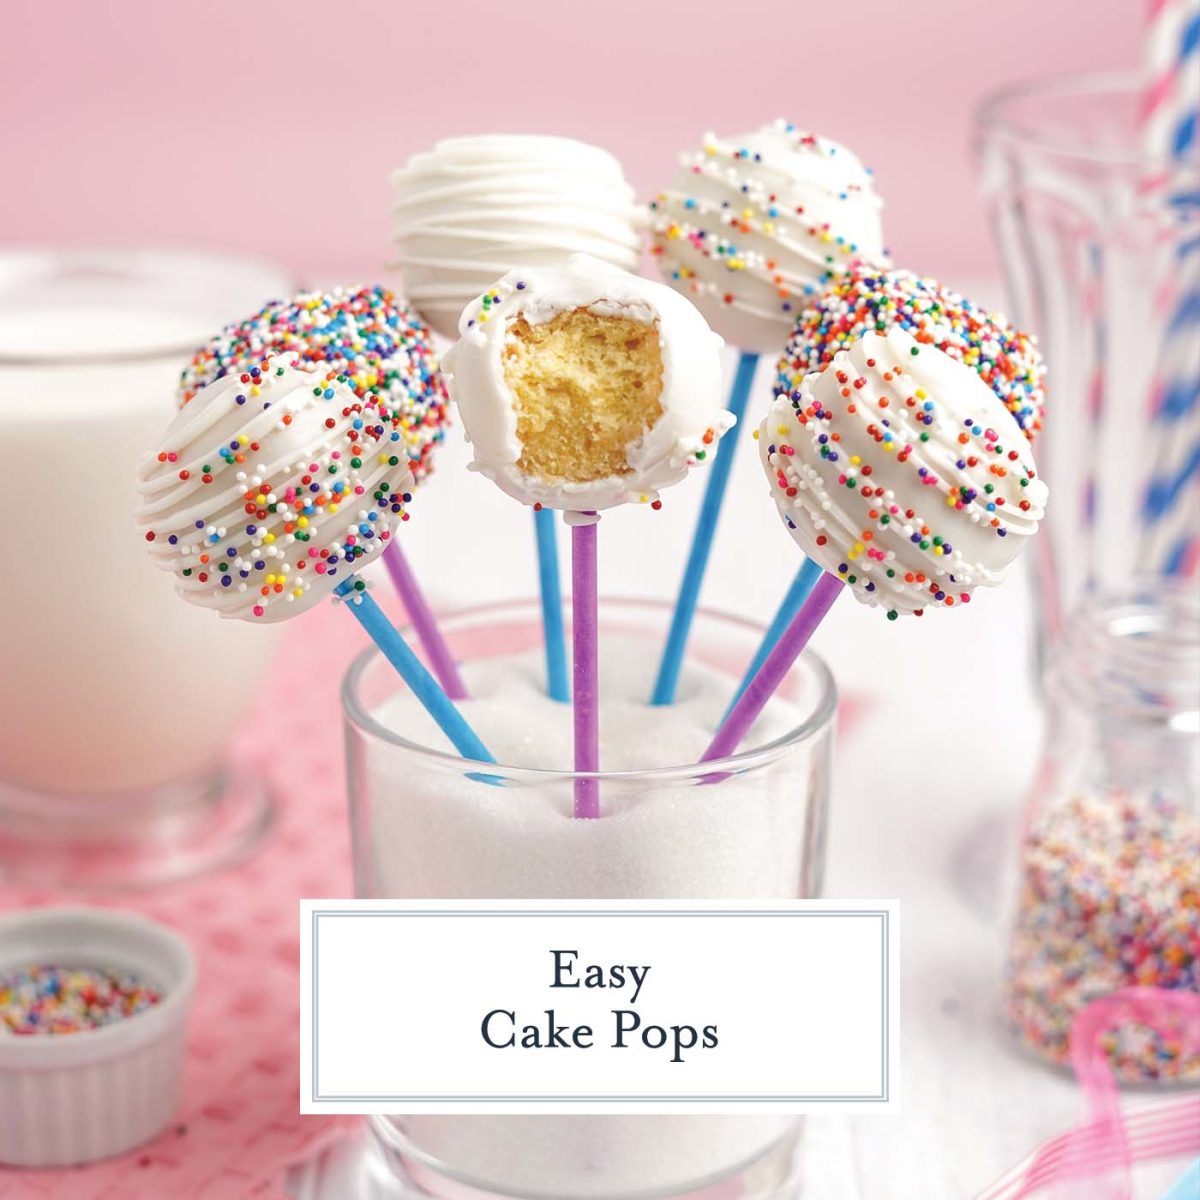
Easy Cake Pops
Equipment
Ingredients
- 18 unglazed donut holes
- 2 cups chocolate melting wafers
- Sprinkles or additional chocolate for decorating
Instructions
- Roll each donut hole in your palms to try and smooth it into the best perfect ball possible.
- Melt the chocolate wafers according to the package directions, we prefer a double boiler, but microwave works too.
- Stick a treat stick into the melted chocolate and then into the donut hole. Allow the chocolate to dry/set and then carefully dip the whole cake pop into the melted chocolate. Allow to drip upside down for about 1 minute, then transfer to your cake pop stand, homemade or purchased.
- If you are planning to use sprinkles, roll in a shallow plate of desired sprinkles while chocolate is still tacky. If you intend to drizzle more chocolate, allow them to dry fully, then melt second chocolate color in a microwave-safe candy piping bag. Snip the end and drizzle as desired. Sprinkle can be applied to tacky drizzle as well.
- If you’ve tried this recipe, come back and let us know how it was in the comments or ratings.
Nutrition


100% winner. I love cake pops so much. They’re so sweet AND so adorable.
This is genius! I am never baking a cake to make cake pops again.
So many great ideas, tips and tricks here – you’ve thought of everything! Thanks!
My daughter and I had so much fun making these! They stayed good for a few days too, until we could get through all of them!
Oh my gosh these were so much fun to make with my kids and they were delicious! We had to make a double batch. Thank you!
It’s a yes for me~ Gotta make this too!
These cake pops look amazing. So cute. Well done.
Oh wow – these are absolutely stunning! They are cute and easy to make, just what I have been looking for!
How cute are these! My kids are going to love helping me make these.
These turned out so gorgeous and were so easy to make! I attempted cake pops about 8 years ago and it was a mess, ha. These were perfect, and so so tasty!